![]()
Integration with Microsoft Outlook 2003
This section goes through the steps of sending a simple email message through the gateway using Microsoft Outlook 2003.
Using Microsoft Outlook Contacts Manager
•Launch Microsoft Outlook 2003.
•On the File menu, click New , then click New Fax on the submenu to display the Compose fax dialog box.
You can directly enter the name, organization and fax number of the person to receive the fax in the Fax Address section of the dialog box. When you click the Add button, Zetafax will enter the recipient's address in the To line:

Microsoft Outlook will store a list of names and fax addresses of people you have previously sent fax messages to in the Previous recipients list. To retrieve a name from this list, use the following procedure.
•Click the Previous Recipients… button and select the name of the person you wish to select in the Previous recipients dialog box.
You can select multiple recipients by holding down [Ctrl] while you select names.
You can sort this list by Name , Company and Fax Number by clicking the respective column.
•Click Add to select a name from this list or Cancel to exit from the dialog box.
If you select a name from this list, it will be added as an addressee in the To field of the Compose fax dialog box. You are now ready to compose the fax.
•Fill in the Subject field on the Compose Fax form. Finally, type a short note in the main message body.
Before sending an email you can override any default message options you may have already configured.
•On the Microsoft Outlook Tools menu, click Options and select the Zetafax Options tab. Alternatively, click on the Zetafax options button on the Compose Fax form.
This displays the Zetafax Options dialog box.
•Select Return for preview if you would like to preview the fax before releasing it to be sent by the Zetafax server.
•Finally, send the email message.
Provided you selected the Return for preview option, once the message has been converted by the Zetafax server it will be returned to you and will appear in your Inbox for preview. You can preview the fax by opening the email message.
When a fax message has been returned for preview, the Release Fax icon on the taskbar will be enabled. Click this icon to release the fax to the server for sending. You will be prompted a final time to edit the fax number to be dialed as well as to specify the delivery options.
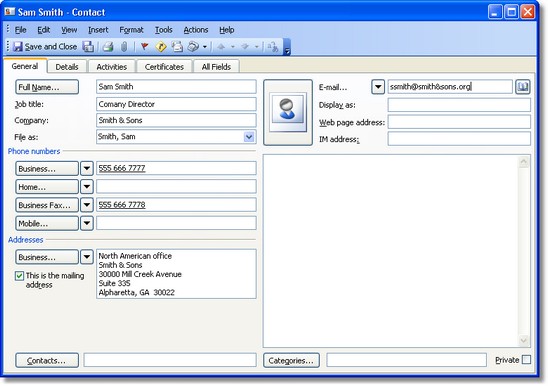
Using Microsoft Outlook Contacts Manager
When using Microsoft Outlook as your email client software, you can address faxes using the Business Fax field in the Outlook Contact manager:
•On the File menu, click New , then click New Fax to display the Compose fax form.
•Click To to address the message.
•Select Outlook address book, then the name of your contact database; for example Contacts from the Show Names from the list:

Outlook lists the names from your database and their address type.
•Select an entry of type Business Fax and click To-> .
If you wish to address the message to other recipients, you can do so from this dialog box.
•Click OK and fill in the Subject field on the Microsoft Exchange message form.
•Finally, type a short note in the main message body and send the email message.
After a few minutes the gateway will send a response by email to your Microsoft Exchange Inbox, indicating whether the message was sent successfully or not.
If the Insert receipts in special folder option was selected when you configured the default message options, all notifications of successfully sent fax messages will be saved automatically to a Sent faxes folder.