![]()
Integration with Microsoft Outlook 2010/2013
This section goes through the steps of sending a simple email message through the gateway using Microsoft Outlook 2010 or 2013.
Using Microsoft Outlook Contacts Manager
•Launch Microsoft Outlook 2010 or 2013.
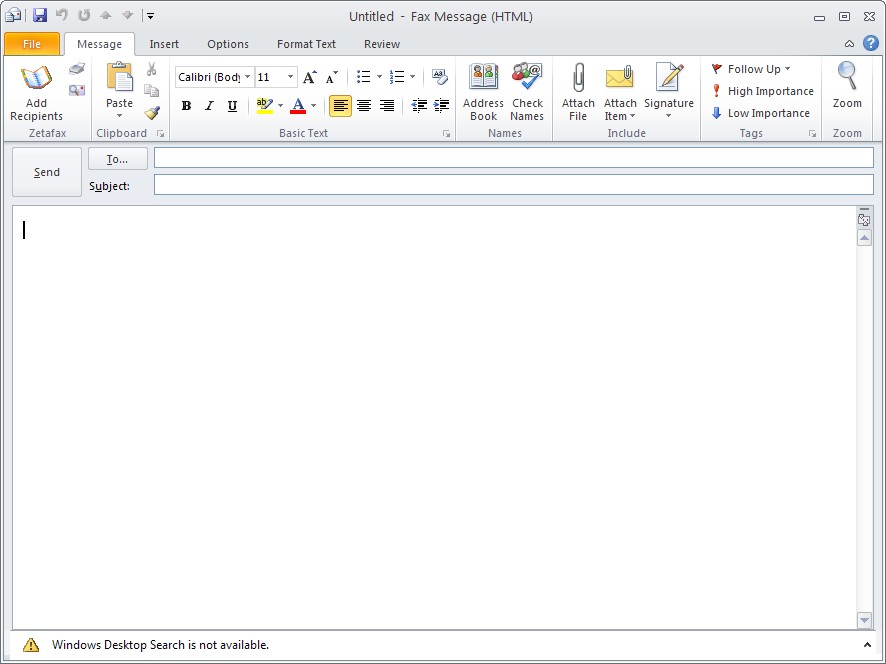
•Click on the Home menu, click New Items, then click More Items and select Zetafax on the submenu to display the Fax Message dialog box.
You can directly enter the name, organization and fax number of the person to receive the fax in the To... field of the dialog box in the following format: [Fax: <name>@<company name>@<fax number>]
Or you can click on the Add Recipients button on the Ribbon, under the Message menu, and bring up the Fax Recipients dialog box.
•Type in the name, organization and fax number in the relevant fields.
•Click on the Add to list button. This will add the details of this recipient to the List of recipients.
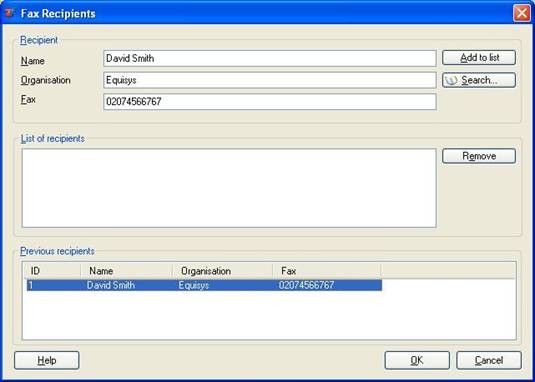
Microsoft Outlook will store a list of names and fax addresses of people you have previously sent fax messages to in the Previous recipients list. To add a previous recipient to the List of recipients:
•Select the recipient from Previous recipients pane.
•Click the Add to list button or double click on the selected recipient
To remove a recipient from the list:
•Select the recipient you want to remove
•Click on the Remove button
Once you have added all the recipients to the list:
•Click OK button to add all the recipients to the Fax Message form or Cancel button to exit from the dialog box.
•Fill in the Subject field on the Fax Message dialog box. Finally, type a short note in the main message body and attach any required files.
Before sending an email you can override any default message options you may have already configured.
•On the Fax Message dialog box, click on the Zetafax Options button next to the Add Recipients button, on the Ribbon to display the Zetafax Options dialog box:
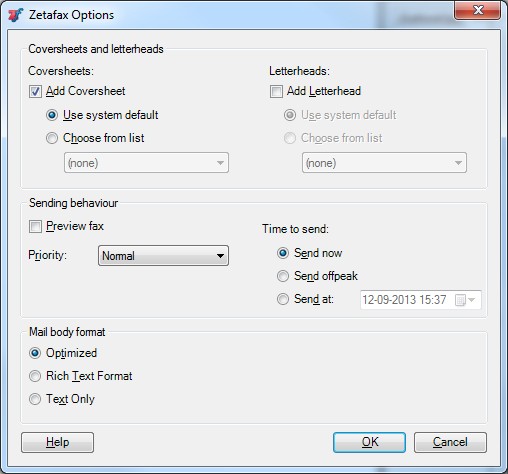
•Several options are available from this screen:
oAdd Coversheet causes a coversheet page to be added to the sent fax. This includes details of your company and of the recipient, and may also include the message text.
oAdd Letterhead causes Zetafax to add a letterhead to the first attached file. This is typically used to add company logo and address details, in a similar way to printing onto letterhead paper.
oPreview fax instructs Zetafax to return a copy of the prepared fax before sending, so you can preview how it will look before releasing it to be sent. You can also select this option by using the Prepare for Preview button ![]() on the Fax Message form.
on the Fax Message form.
oPriority specifies the urgency of the fax, and affects how it will be prioritized against other faxes waiting to be sent.
oTime to send enables you to choose whether the fax should be sent immediately or held until a specified time. The offpeak time is defined by the Zetafax Server administrator, and is typically use to send faxes outside business hours or to avoid busy periods.
oMail body format enables you to control how Zetafax should include the message text in the fax. The options are as follows:
▪Text only: This causes Zetafax to include the message text on the fax coversheet (or a separate page if no coversheet is specified). The text fonts and other formatting information will be ignored with this option.
▪Rich Text Format: The message text will be sent on a separate page, retaining font and other formatting where possible. Note that to use this option you must also set the email format to Rich Text Format in the Outlook settings – it is not supported for HTML format messages.
▪Optimized [Recommended option]: This analyzes the text of the message to determine how much formatting information it contains, then selects Text Only or Rich Text Format as appropriate.
•Finally, send the email message.
If you have selected the Preview fax option, once the message has been converted by the Zetafax Server it will be returned to you and will appear in your Inbox for preview. You can preview the fax by opening the email message.
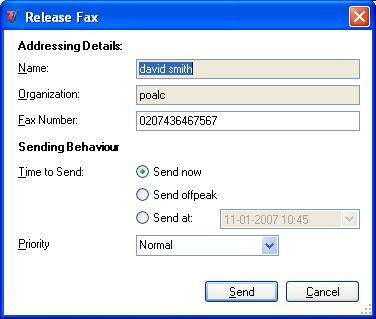
When a fax message has been returned for preview, the Release Preview Fax button on the Zetafax toolbar will be enabled. Click on this icon to release the fax to the server for sending. You will be prompted a final time to check the Addressing Details and specify the delivery options:
Using Microsoft Outlook Contacts Manager
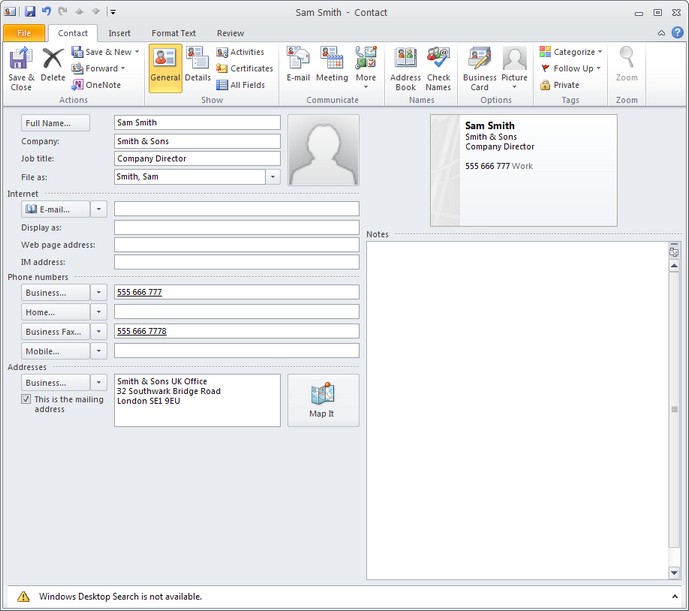
When using Microsoft Outlook as your email client software, you can address faxes using the Business Fax field in the Outlook Contact manager:
•On the Fax Message dialog box, click To... button. This will bring up the Outlook Address Book.

Outlook lists the names from your database and their address types.
•Select the name you require from the list and click the To-> button and click OK. You can also bring up this address book by clicking on the Search button on the Fax recipients dialog box
•Finally, type a short note in the main message body and send the email message.
After a few minutes the gateway will send a response by email to your Microsoft Exchange Inbox, indicating whether the message was sent successfully or not.
If you need any help with the Outlook integration you can always contact Equisys technical support for assistance. They will ask you for the log file ZFOutExt.log which is located in your local temp folder ("\\Document and Settings\<username>\Local Settings\Temp"). You can enable or disable the logging from the Tools|Options menu under the Zetafax tab page at the bottom by checking or unchecking the Enable Logging box.